
Rights management lets you shape what every member of your workspace can read, create, update, and delete. It works in two layers: a baseline that applies to everyone, and named permission profiles you can attach to individual users or to roles inside circles. When a profile is attached to a role, anyone filling that role picks the profile up while assigned and loses it as soon as they step out of the role.
This guide walks through where to find the editor, how the baseline works, how to build a custom profile, and the two ways to hand a profile to your members. For context on workspace members and the built-in owner / admin roles, see Managing users, invitations and permissions.
Rights management lives on your workspace settings page. As a workspace admin, open the workspace, then go to Workspace settings → User Permissions & Domains. Scroll past the invitation permissions and the associated domains list, and the Rights management section sits at the bottom.

Rights management is part of the Pro plan. Workspaces on the Free or Starter plan see the editor in read-only mode with a prompt to start a two-week trial or to upgrade. The trial unlocks the full editor immediately. While trialing the Pro plan, the upgrade prompt offers to make the trial permanent. See Pricing and plans for the plan details.
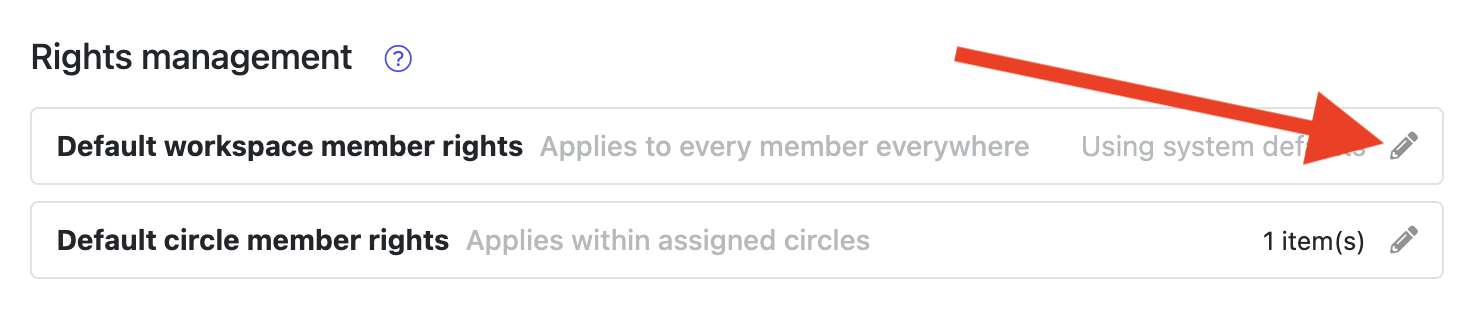
The two cards at the top of the Rights management section define the rights every workspace member starts with. Use these to widen or narrow the standard behaviour without having to assign anything to anyone.
Each card shows “Using system defaults” until you add something to it. Click the pencil icon to open the editor. The editor only carries rules where you want to change the default, so leaving a row at “Default” means Nestr falls back to its built-in behaviour for that item.
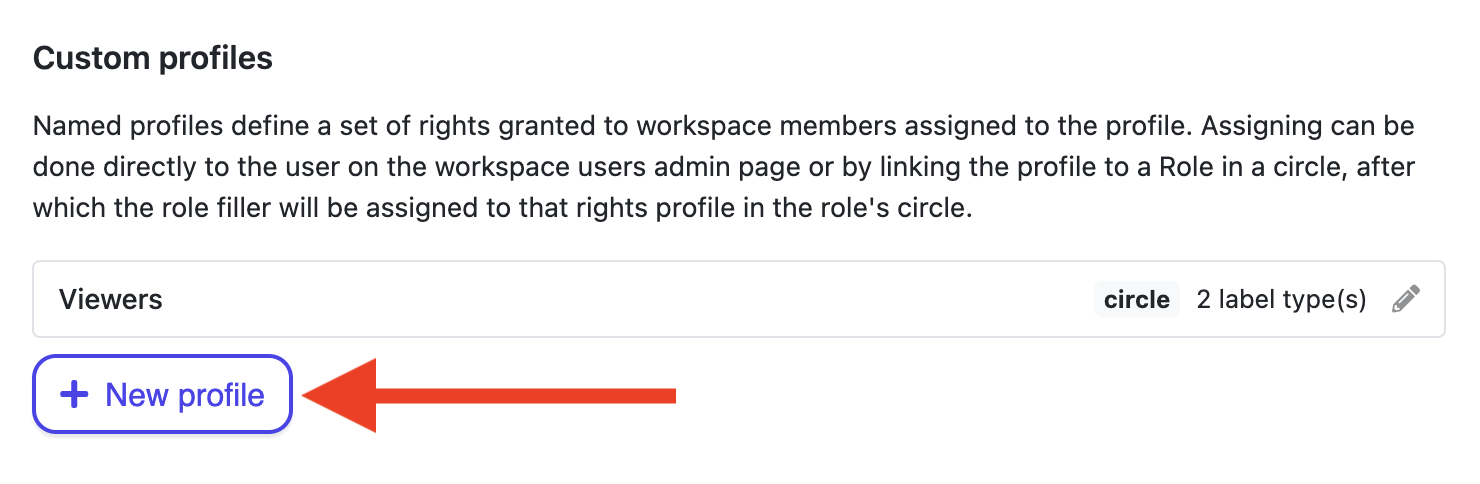
Below the defaults you will find the Custom profiles list. A profile is a named bundle of rights you can hand out to specific people or attach to roles. Profiles are the right tool when only some members need certain access, or when the access should change as people move in and out of roles.
Scope controls where a profile’s rights apply when someone holds it. There are four options:
For most role-driven profiles, Circle is the right pick. It keeps the rights inside the circle the role belongs to.
Inside a profile, the Rights table is where you define what people with this profile can do. Each row covers one item type. To add a row, pick from the Add item rights… dropdown.
The dropdown is grouped:
Each row has these controls:
More specific rows win over less specific ones. So a row for the Project label overrides a row for “All nests”, and “All nests” only kicks in for items that no other row covers. Within one operation a No on a more specific row also overrides a Yes on a broader row.

The plus button on the right of each row adds a sub-row underneath it. Sub-rows give you finer control over the same item type without adding more top-level rows.
You can add:
Click the trash icon next to any sub-row to remove it.

Profiles do nothing on their own. They take effect when you attach them to a user. There are two paths.
Open Workspace settings → Users and click a user. The user panel lists every workspace-level right you can toggle for that person. Every custom profile in the workspace appears here with a switch. Flip the switch on to grant the profile, off to revoke it.
This path is the right one when an individual needs the rights regardless of which roles they fill. Auditors, security reviewers, finance admins, and similar workspace-wide functions fit this pattern.

This is the path that makes rights follow the work. When a profile is attached to a role, anyone filling that role picks up the profile inside that role’s circle. As soon as they step out of the role, the profile is removed from that circle context. Nothing else about the user changes.

From now on, whoever fills the role gets the profile inside the role’s circle automatically. Assign three people, all three get it. Remove one, only that person loses it. Add a fourth, they pick it up on the spot.
A few things to know:
For background on roles, circles, and the four core governance roles, see Building your org structure.
Workspace-scoped profiles support two auto-apply triggers. When enabled, Nestr attaches the profile to a new member automatically as they join.
Auto-apply is only available on profiles scoped to the workspace. Circle, Circle + sub-circles, and Tree scopes have no anchor at the moment of join, so the triggers do not apply.

For a given user looking at a given item, Nestr layers the rules in this order:
Within each layer Nestr merges using the most permissive value. Across layers, more specific rows (a label-specific row) still win over less specific ones (a type wildcard or “All nests”). A “No” on a specific row will block a “Yes” on a broader row in the same profile, so use specific denies sparingly.
If you set a row to Default, Nestr falls back to its built-in behaviour for that operation. Default is not the same as “No”: it is “let Nestr decide as it normally would”.
When AI agents fill roles in your workspace, the same model that lets a human stay in their lane lets an agent do the same. Permission profiles are role-based access control by construction: an agent inherits rights only from the role it currently fills. The role definition shapes what it should do. Rights management enforces what it can do. The combination prevents role bleed, the failure mode where an agent acts well past its assignment simply because nothing technical stopped it.
This matters more for agents than for humans because the drift can happen in a single session and at machine speed. By the time anyone notices, the agent has read data it should not have, created items in places it had no business creating them, or assigned people to roles outside its authority. Tying every permission to a role and revoking it on unassignment gives you scoped credentials per agent identity, evaluated on every action, with the same audit trail as human work.
For the wider picture see Agent governance and Permission creep.
What is the difference between workspace admin and a permission profile?
Workspace admin is the built-in highest-privilege role. It configures applications, integrations, billing, and the rights model itself. A permission profile is a named bundle of fine-grained CRUD rights you build in the editor. Profiles let you delegate specific powers without granting full admin.
What happens when a user is unassigned from a role?
Rights granted through that role are revoked immediately. If the same user holds the same rights through another role in the same circle, those are kept. Rights assigned directly on the workspace users page are kept too. Only the rights granted by the role they stepped out of are removed.
Can permission profiles control what AI agents can do?
Yes. AI agents fill roles in Nestr the same way humans do, and they pick up the permission profile attached to that role. If a role’s profile lets the filler create projects in one circle but only read in another, an AI agent in that role inherits exactly those boundaries.
How does this compare to access control in other self-organisation tools?
Most self-organisation tools treat permissions as a fixed three-tier model: member, admin, owner. Nestr’s rights management is a full permission profile editor with per-label and per-field grants, four scopes, tri-state values, row-level limits, and profiles that stack via role assignment. The result is role-based access control customised to your structure, not a coarse permission switch.


.png)


