Managing who has access to your workspace and what they can do is essential for effective collaboration. This guide covers inviting users, setting permissions, and managing your team in Nestr.
Only workspace admins can invite new users. There are three ways to invite people:

Each invitee receives an email with a link to join your workspace. There is a daily limit on invitations (typically 20 per day - contact us if you need this to be higher).
In the same invite dialog, you'll find a shareable invite link. Copy and share this link with anyone you'd like to invite. If admin approval is required, new users will need to be accepted before they gain access.
Nestr starts with three workspace-wide permission levels:
Beyond these three, Nestr lets you fine-tune what every member can see and do through named permission profiles. Profiles can be attached directly to a user from the workspace users page, or to a role so that whoever fills the role picks the rights up while assigned and loses them again when unassigned. See Rights management for the full picture.

Workspace admins can edit a member's full name and manage their email addresses from the same popup used to assign rights. Go to Workspace settings → Users and click a user to open their details.

Change the Full name field and click Save. The name is editable only for members who have at least one email on a domain your workspace owns and has verified. For everyone else the name is read-only, and the member changes it from their own profile.
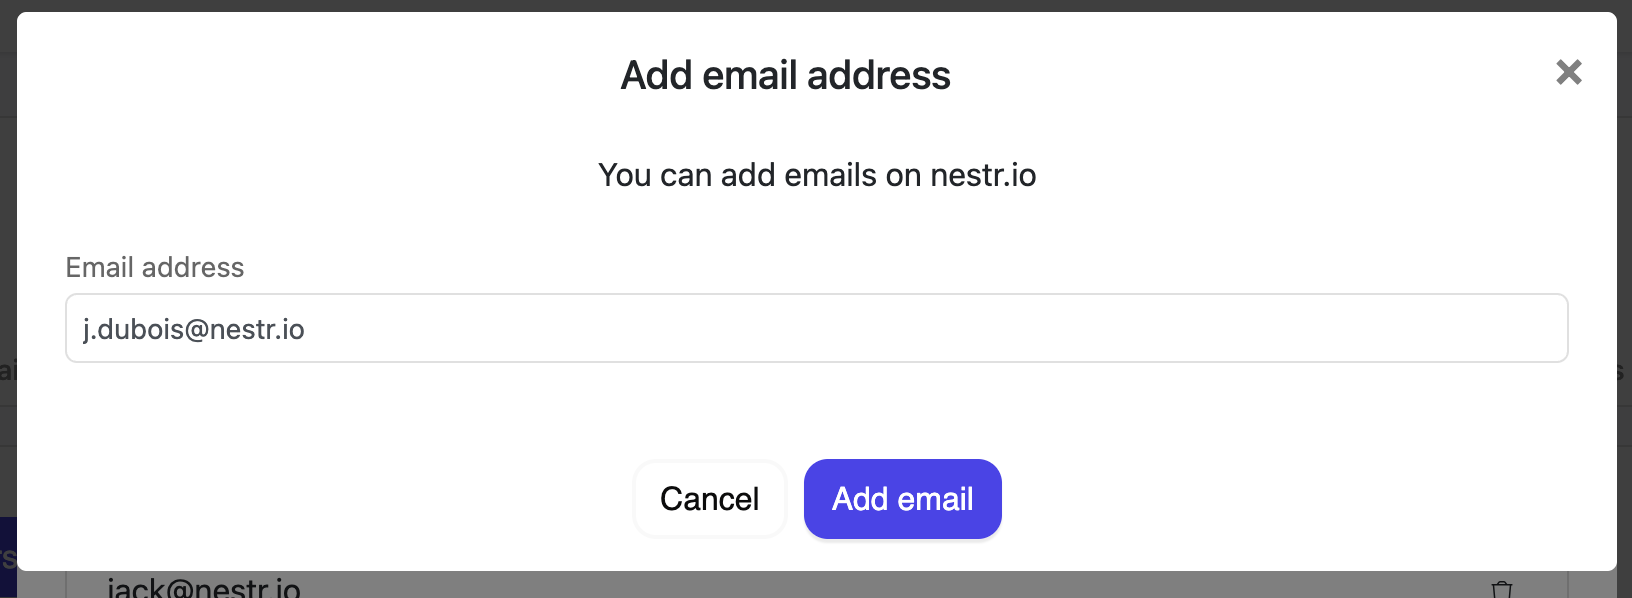
Under Email addresses you can:
Two safeguards apply. A member always keeps at least one address, so the last one cannot be removed. Addresses on domains your workspace does not own stay read-only and show an info icon. This read-only state applies only to admins: members can always add, change, or remove their own email addresses from their account settings, including on domains the workspace does not own. For an admin to manage a member's address, add and verify the domain first under User Permissions & Domains (see Domain-based access below).
Only the current owner (or a super-admin) can transfer ownership:
After transfer, the previous owner retains admin rights but loses owner-level control.
The user is suspended from the workspace and unassigned from all active roles, projects, and tasks. They can be re-invited later if needed.
Any member can leave a workspace voluntarily:
If the email is on a domain your workspace owns and has verified, Nestr now claims the existing account and adds it to your workspace automatically, so this is no longer an error in that case. If more than one account matches that email, the request returns a conflict (409) and you choose how to resolve it. For an email on a domain you do not own, the person already has a Nestr account: ask them to log in with their existing credentials, then invite them by email.
The invitation may not have been accepted yet, or the user may be in a suspended state. Check the Users tab for their status and resend the invite if needed.
For organisations with a company email domain, you can configure automatic access:
Newly added domains start as Pending verification and must be verified by Nestr before auto-join and the other domain features take effect. See Verifying your workspace domain.

Workspace-scoped permission profiles can attach to new members automatically when they join through a matching domain or an invite link. See the auto-apply section in Rights management.

