
Wherever Nestr shows a list of items, whether that is a search tab, your own work, or a circle's projects, you can shape how that list looks. Nestr then remembers your choice, so the next time you open that list on the same device it is exactly how you left it.
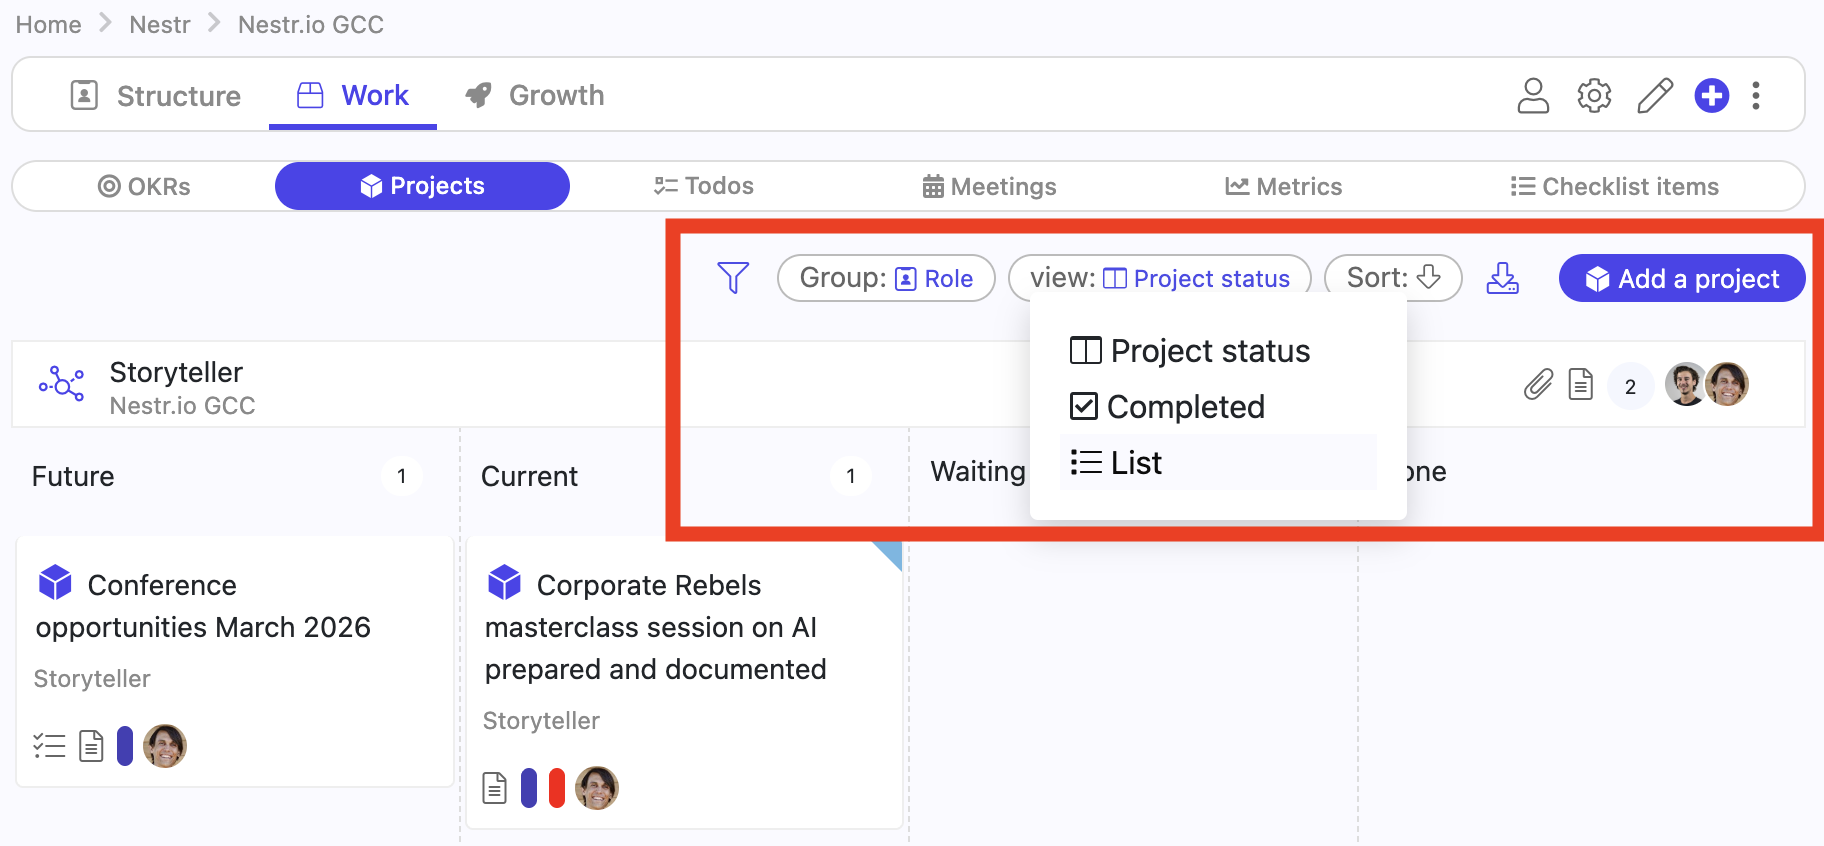
Every list starts as a flat List. You can switch it to a column layout that groups items into columns by a field you choose, so you can work with it like a board. You can also switch it to a Timeline, which lays the same items out as bars on a calendar, the view most people know as a Gantt chart.
Switch a list to Timeline and every item becomes a bar running from its start date to its due date. Drag a bar to reschedule the work, drag either end to change just that date, and drag one bar onto another to make the second wait for the first. Items with no dates keep their row so you can drag them onto the chart to schedule them.
The timeline appears wherever the List view does, so a circle's projects, a role's work, My projects and your own search tabs all offer it. See Timeline view for the full walkthrough.
Use Group by to organise a list into sections or columns. You can group by:
Choose None to turn grouping off.
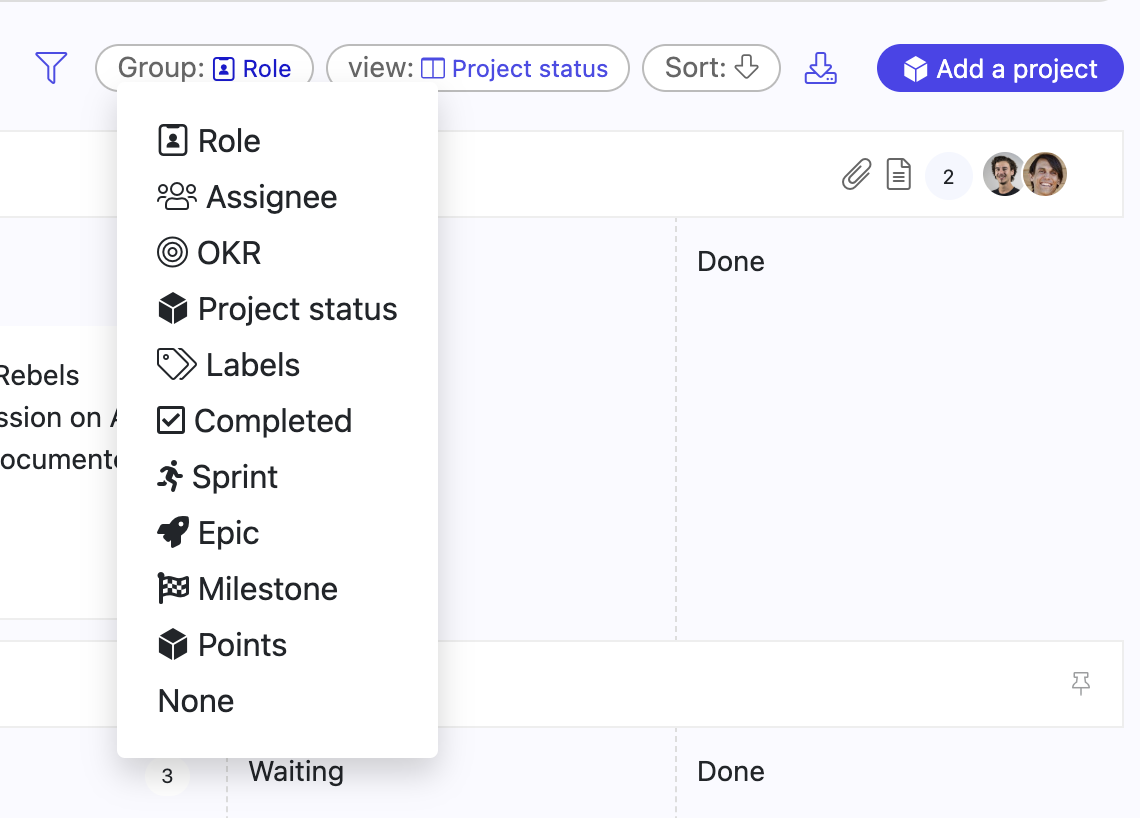
The Group by menu changes the list in front of you, and the choice stays in your browser. To set a grouping once and have everyone see it, put it in the search instead. groupby: splits results into sections and groupbycol: lays the same grouping out as columns. Both take the same values: assignee, label, parent, workspace, completed, due, and any dropdown field on a label written as label->field, for example groupbycol:project->status. You can combine them. A view works the same way: view:timeline written into a search opens it as a timeline. See Nestr search for the full syntax.
Saved on a tab, that search gives every item of the same type the same board. Tasks have no status field of their own, so to see the tasks inside a project as a kanban, add a status dropdown to the task label, then give the project label a search tab whose search includes groupbycol:task->status. See Customising tabs and Custom fields.
Use the filter icon to narrow a list down to just what you want to see. The filter panel adapts to the list you are looking at, so you only see the filters that make sense for it. Depending on the list, you may see:
A small number on the filter icon shows how many filters are active, so you always know when a list is filtered. For more advanced queries, see Nestr search.

Use the Sort menu to choose what the list is ordered by. The arrow next to Sort switches between ascending and descending, so you can flip the order with a single click.

The view, grouping, filter and sort you set are saved in the browser you are using. Open the same list again on that device and your setup is still there. Because the setting lives in your browser, a different device or browser starts fresh with its own defaults. A grouping written into a search or a tab is different: it travels with the search, so everyone opening it sees the same layout.
Lists are not just for looking at. You can select several items at once and delete, move, complete or export them together, or drag them all in one move. See Bulk actions.


.png)


