
Tabs sit across the top of an item and control what you see when you open it. A circle, a project, a role: each can have its own set of tabs. You can reorder the built-in tabs, hide the ones you do not need, and add your own.
Tabs are set per label, which is the type of item, so a change you make to projects applies to every project. Tabs are not the same as fields: a tab shows a saved search or a block of text, not a single piece of data. For fields, see Custom fields.
A workspace admin manages tabs in Workspace settings → Labels, Fields & Tabs. Select the label, which is the type of item you want to change, then open its tabs.
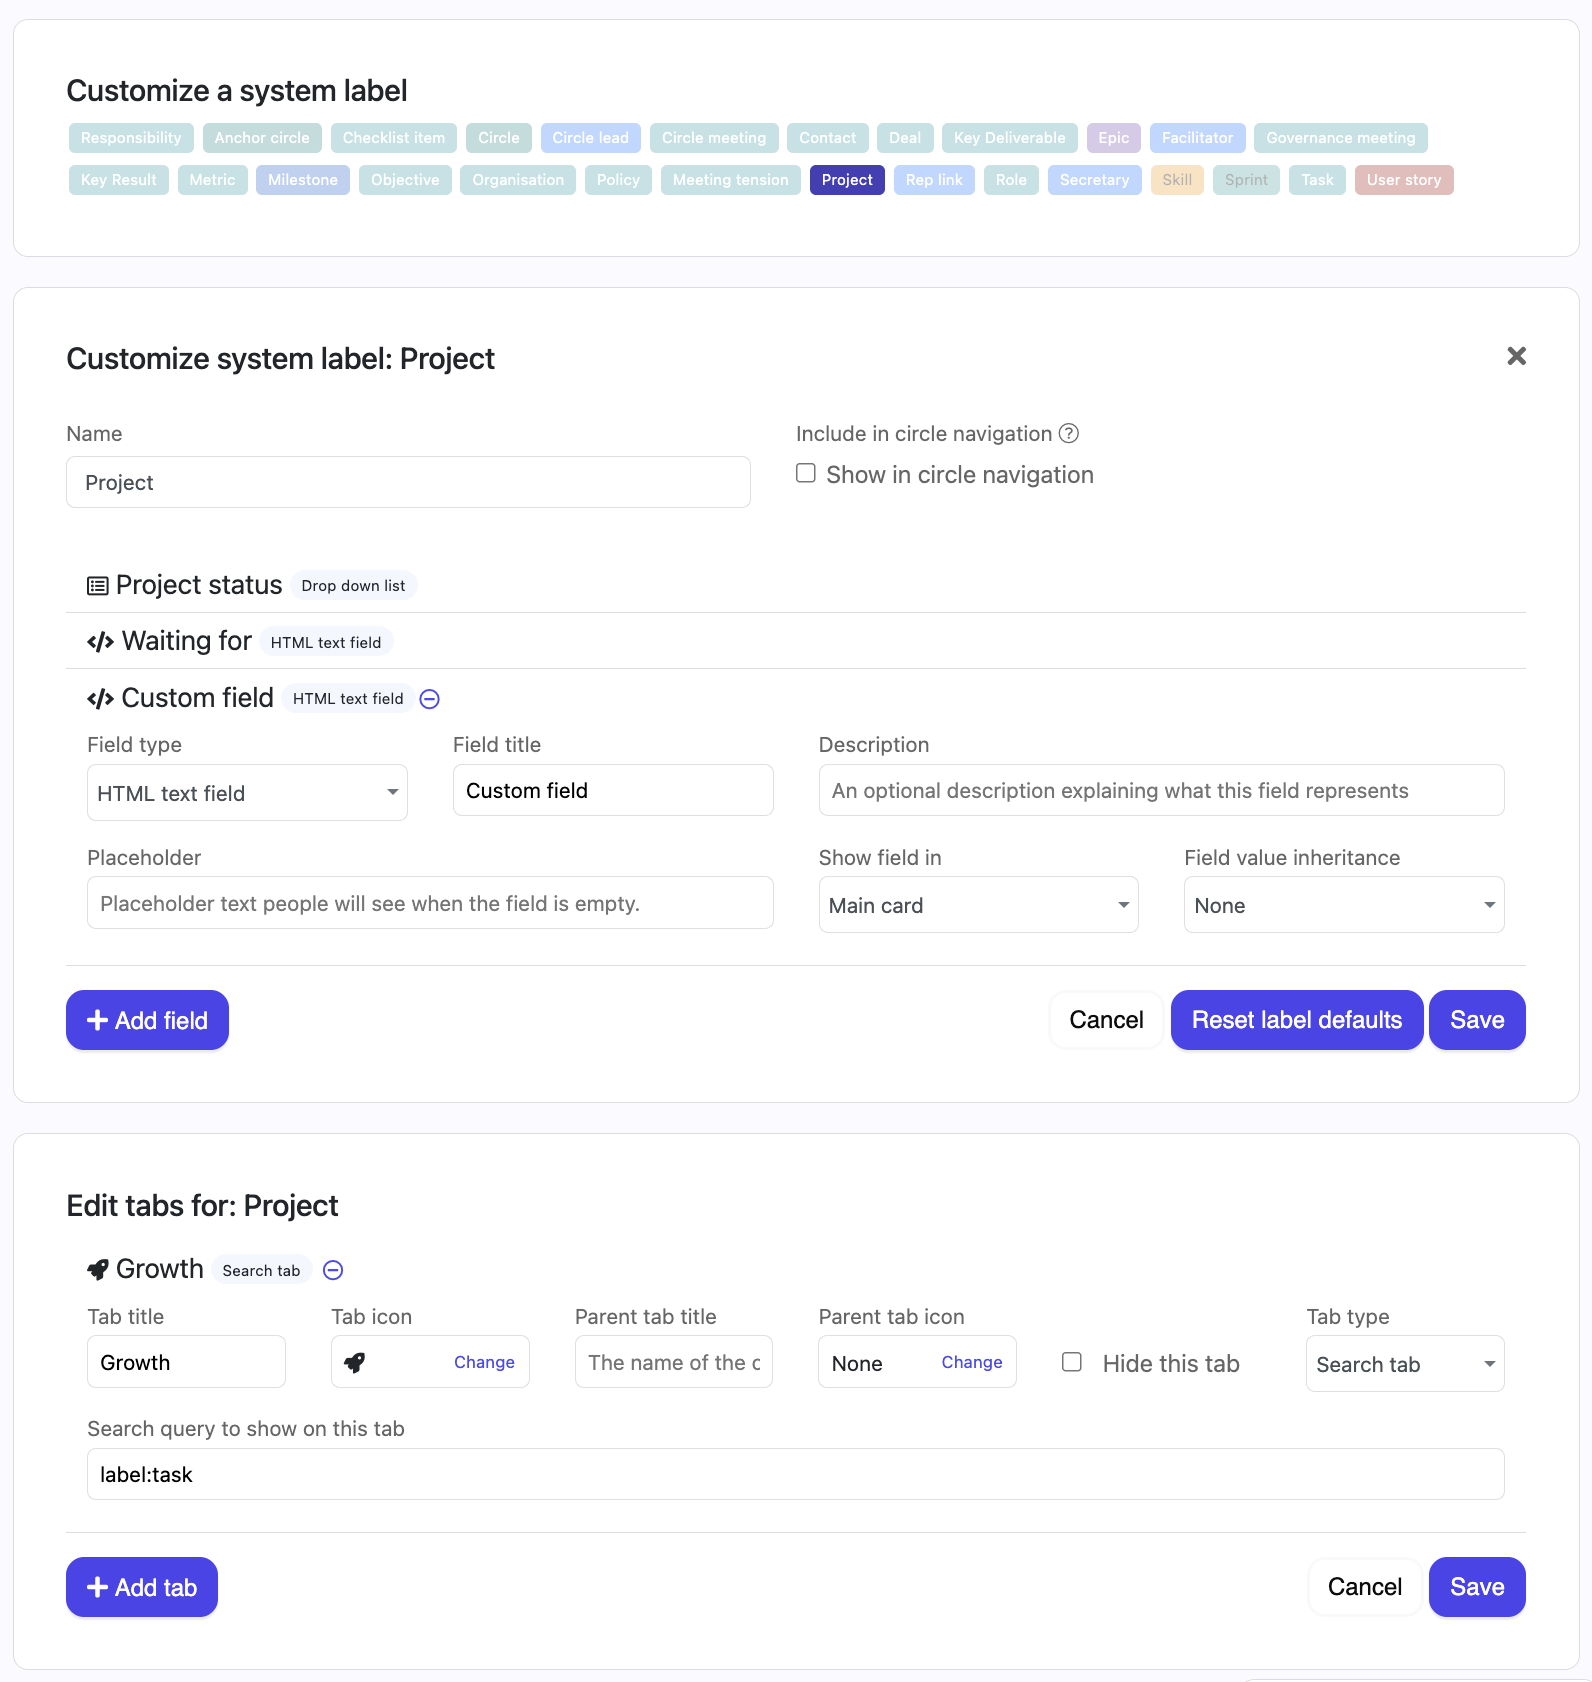
The tabs on an item come from that item's own label. The tabs across the top of a circle are the circle label's tabs, the tabs on a project are the project label's tabs, and so on. The editor tells you which one you are in, headed Edit tabs for: followed by the label name.
This catches people out when a tab lists items of a different type. A Contracts tab that lists all the contracts in a circle belongs to the circle label, not to your Contract label. Editing the Contract label's tabs changes what you see when you open a single contract, and will not move that Contracts tab on the circle.
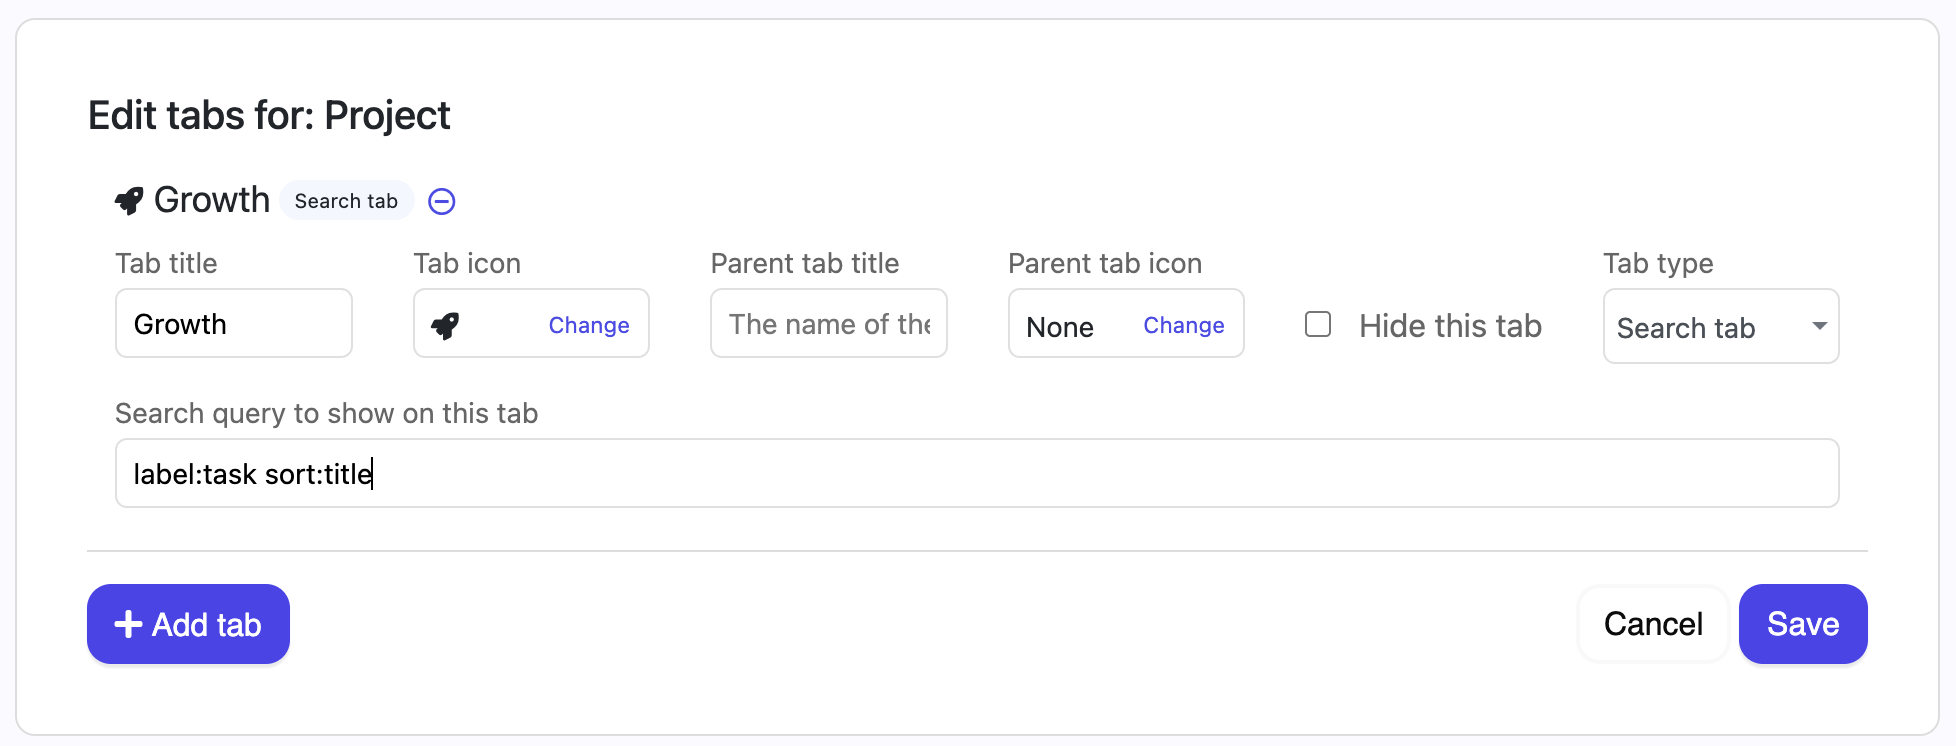
For help building the search behind a search tab, see Nestr search.
A search tab does not have to be a plain list. The search itself can carry the view, so groupbycol: gives the tab columns and view:timeline gives it a timeline, the view most people know as a Gantt chart.
This is worth knowing because a view picked from the switcher above a list is remembered only in that person's browser. A view written into a tab's search is part of the tab, so everyone opening that type of item sees the same thing. A circle can give itself a Roadmap tab whose search ends in view:timeline and the whole circle gets the same plan. See Nestr search for the operators, Customising views for the per-person menus, and Timeline view for what a timeline can do.
Tabs appear on the item in the order they sit in the settings list. The top of the list is the leftmost tab, so moving a tab up moves it further left. There is no order number to set: the position in the list is the order.
Click Save when you are done. A tab that has a Parent tab title sits inside that parent instead of on the bar itself, so moving it changes its place within the parent rather than on the bar.
Built-in tabs cannot be deleted, only hidden, so you can always get them back. If you have changed a built-in tab and want the original again, reset it to its default.
Because tabs are set per type of item, your changes apply to every item of that type across the workspace, and everyone who opens one sees the same tabs. Some apps also let you tailor tabs for a specific circle. The Scrum & Agile app, for example, offers a Customise option on each work type.
Here is an example on how you can use Labels, Fields and Tabs to show tasks under a project on a Kanban board rather then a list.


.png)


