In Nestr, work lives under roles. Projects track multi-step outcomes, while todos capture individual next actions. This keeps everything transparent: anyone can see what's happening without asking.
Select the role this project belongs to (required — projects must be linked to a role or circle).
Optionally add a description and due date.
Click Create project.
Creating a new project from 'My projects'
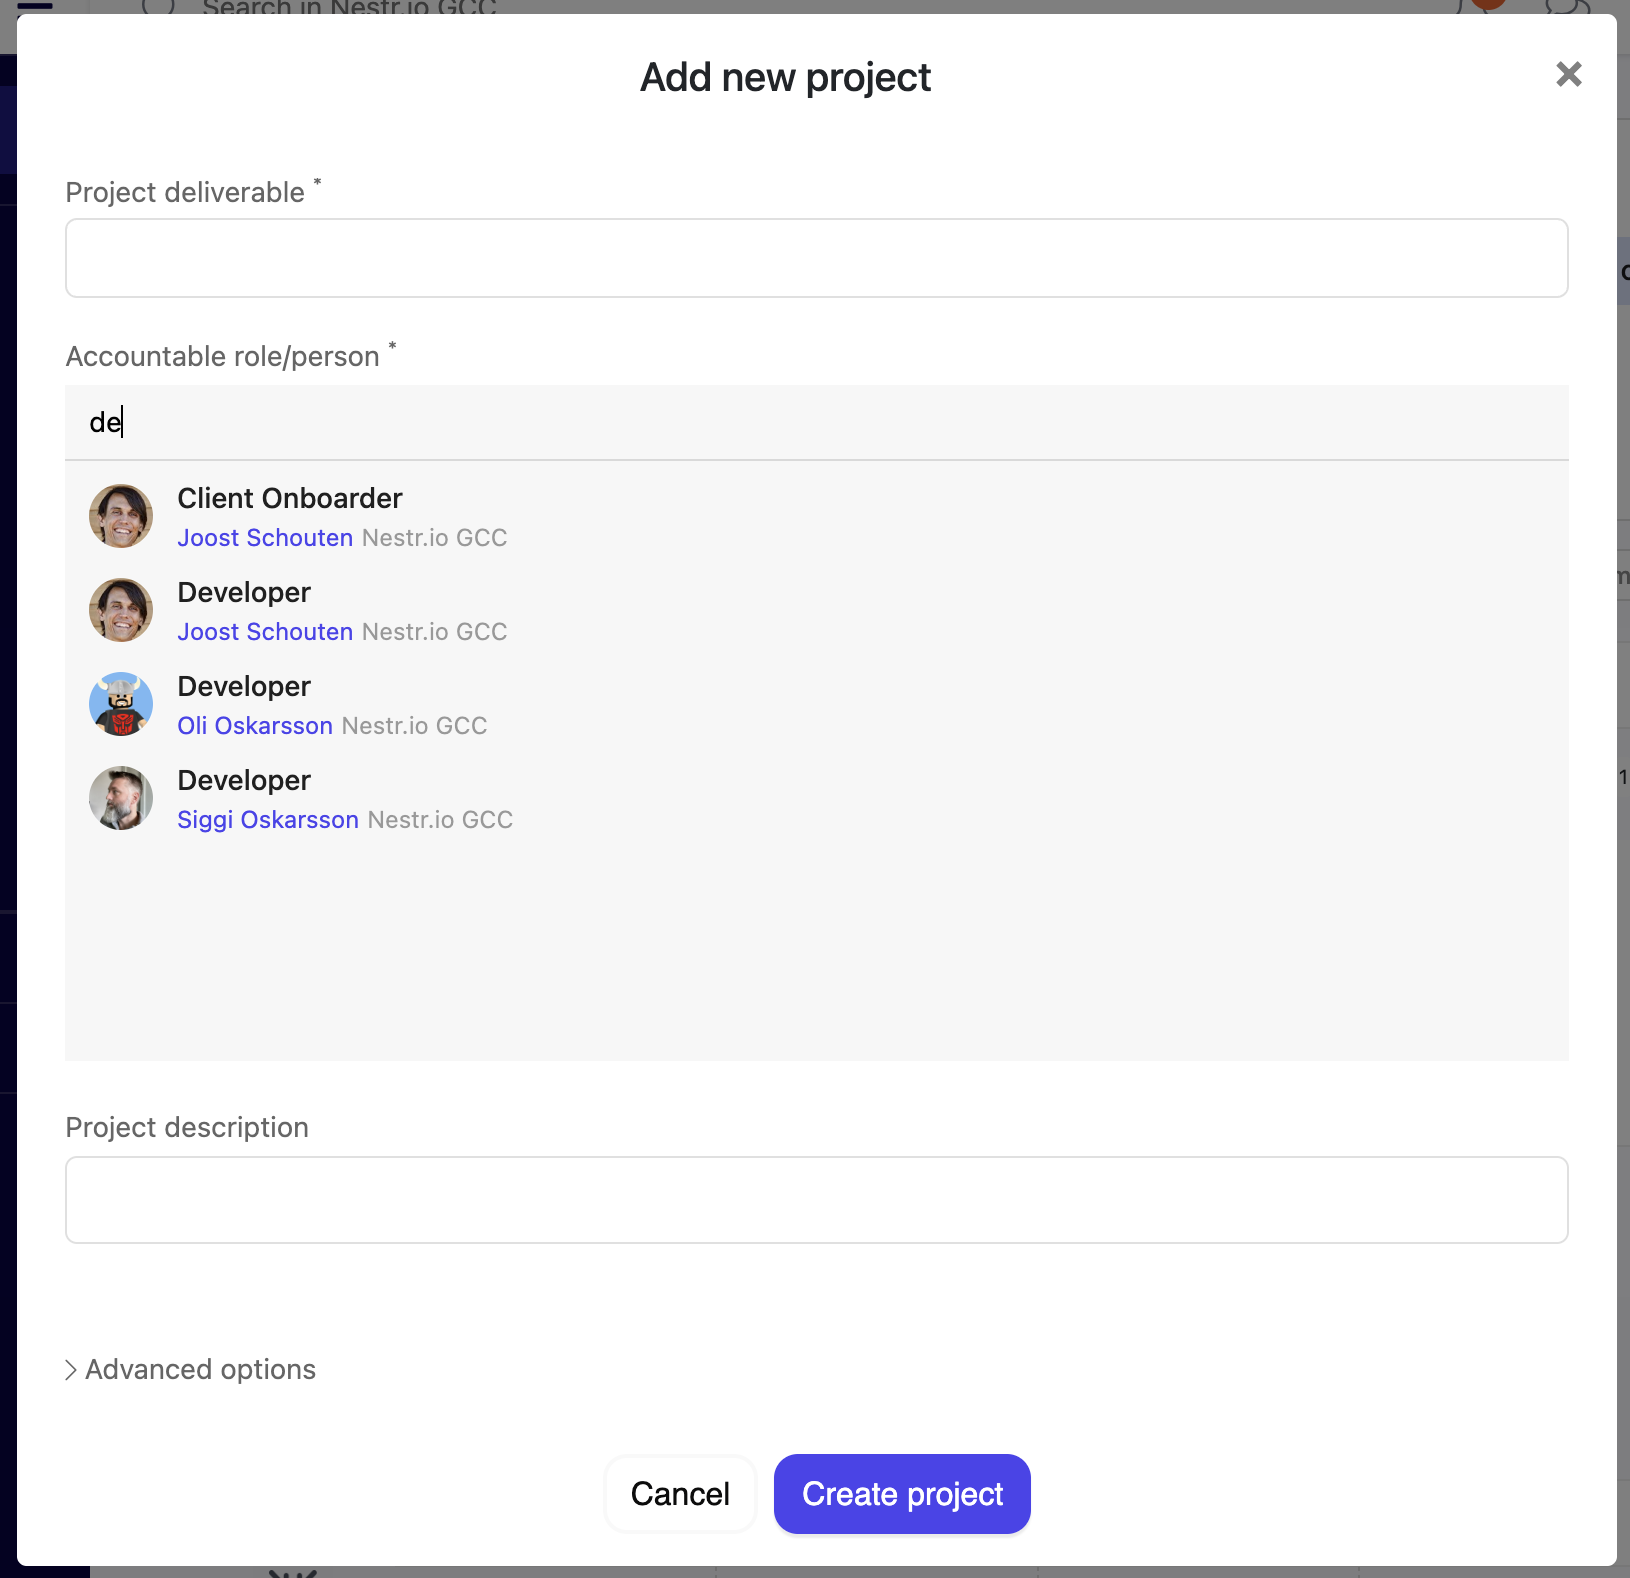
Fill in the project details in the new project pop-up
From the + Create button
You can always create a new project using the '+ Create' button.
Click the '+ create' button
Choose the 'Project' option
In the popup, we will by default select the role/circle you are viewing as the role for the project. Re-assign to the appropriate role if needed.
Search for and select the apprpriate circle/role for the project
From a role or circle
Navigate to the role or circle.
Click the Work tab, then Projects.
Hover over any of the columns and click the + to create a new project
Type the name of your project + enter and your project is created.
You can add a project directly in any of the boards of your roles and circles
Important: Projects must be associated with a role. If you can't create a project, make sure you're assigned to a role first.
The kanban board
By default, Projects are displayed on a kanban board with a swim-lane per role and four columns representing project status:
Future: Planned projects, not yet started
Current: Active, in-progress projects (default status for new projects)
Waiting: Blocked or on hold — a "Waiting for" field appears where you can describe what you're waiting on
Done: Completed projects
Drag and drop project cards between columns to update their status. You can also click into any project card to see full details.
Switching views
Both, My Projects and the circle project board is fully customisable. You can change the grouping (swim-lanes) to group
By role — group projects by the role they belong to
By assignee — group projects by the assigned person
By due date — group by when projects are due
By labels — group by custom labels you've applied
By OKR (if enabled) — group by custom labels you've applied
None — no grouping placing all projects on one board
Group your project board into swim-lanes that suit your needs
You can also choose one of the following view options to suit your needs
Project status columns — the default kanban view using project status columns
List view — A simple list of projects
Completed column — A column for open and completed
Choose your preferred column/list view
Changing the project status columns
If you have admin rights, you can change the available columns on the project board. the simplest way is to click the settings icon on the group options.
Edit the columns on your project board
This will open the circles 'Labels, Fields & Tabs' settings where you can change the project status options for the circle (and sub-circles). You can add/remove the columns and reorder to suit your needs.
Customize the project board columns to suit your needs
Creating a todo
Click My todos in the left sidebar.
Click the New todo button in the header.
In the dialog:
Enter a todo title.
Select a parent (role, project, or circle).
Optionally add a description and due date.
Click Create todo.
Capture a new todo for your role
Similair to projects, you can also create todos from the '+ Create' button in the navigation and from the circle/role Todos pages.
Creating a todo within a project
If you want to capture a todo as part of a project, the easiest is to open the project and find the 'Add new todo' section, click it and type the todo you want to capture and it will be created.
Adding todos within a project
The daily plan
At the top of your My todos view, you'll find the Daily plan section. This is your personal focus list for today:
Drag todos from your list into the daily plan to prioritise them.
A counter shows your progress: "(2/5)" means 2 of 5 daily items completed.
Create todos directly in your daily plan by clicking the new button within the section.
Simply drag projects or todos onto your daily plan to add them
Setting due dates
Both projects and todos support due dates. You can:
Set a due date when creating the item.
Edit the due date anytime from the item's detail view.
Group or sort your items by due date to see what's coming up.
The completed filter
At the top of your page you will find a completed filter which let's you set how long you would like to see completed work for across Nestr. By default this is set to one week meaning you'll see completed work for one week after which it will be removed from your views. You can change this to a day, a month or turn it off completely so you can see all completed work.
This filter applies to work, OKRs and asynchronous proposals.
Filter out your completed work.
Viewing work across your workspace
My projects shows all projects assigned to you across every role and workspace. You can group them by:
Workspace, role, circle, due date, labels, or project status.
My todos works the same way, showing all your todos with grouping options:
By role (default), by project, by due date, by labels, or by completion.
You can sort todos by manual order, title, creation date, due date, or last updated.
When you need to change many projects or todos in one go, you do not have to open them one by one. In any list or search view you can select several items together and delete, move, complete or export them in a single action. See Bulk actions: select multiple items and update them at once.
Why projects or todos might not appear in My Todos
A common question: "I created todos but they don't show in My Todos." This usually happens because:
The todo isn't assigned to you — check that you are listed as an assignee.
The todo is completed — toggle the view to include completed items (see above on the completed filter).
The todo was created under a different workspace — check all your workspaces.